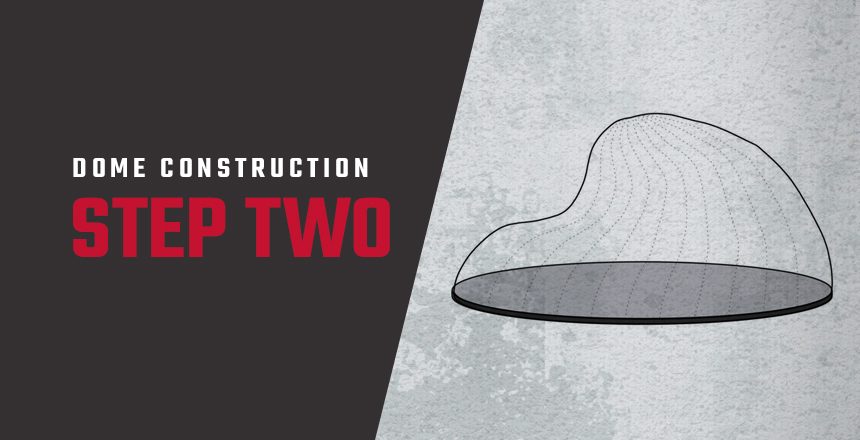
It’s well known that our concrete domes are made with a unique process, but what exactly does that process look like? In five steps, we go from a blank slate to one of the world’s strongest structures. From laying the foundation to airform inflation to spraying foam and concrete, our system makes it possible for these domes to handle almost anything thrown their way. And that’s why we think it’s the best option for everything from storage solutions to custom homes.
Why Choose A Dome Home
Concrete domes are incredibly durable, able to withstand severe weather conditions and natural disasters that would otherwise demolish a conventionally-built home. A dome’s energy-efficient nature not only helps save the environment but your wallet as well by significantly decreasing utility costs throughout the life of the dome.
In a previous article, we detailed the first step of creating your dome home: laying the foundation. You can take a look at it here!
The rest of this article talks about the second step in our dome construction process: inflating the airform. Creating a concrete dome is a fascinating process, and this step is perhaps the most interesting.
Read our complete 5-part series here:
Part 1: The Foundation
Part 2: The Airform (you are here!)
Part 3: Polyurethane Foam
Part 4: Steel-Reinforcing Rebar
Part 5: Shotcrete
Preparing for Airform Inflation
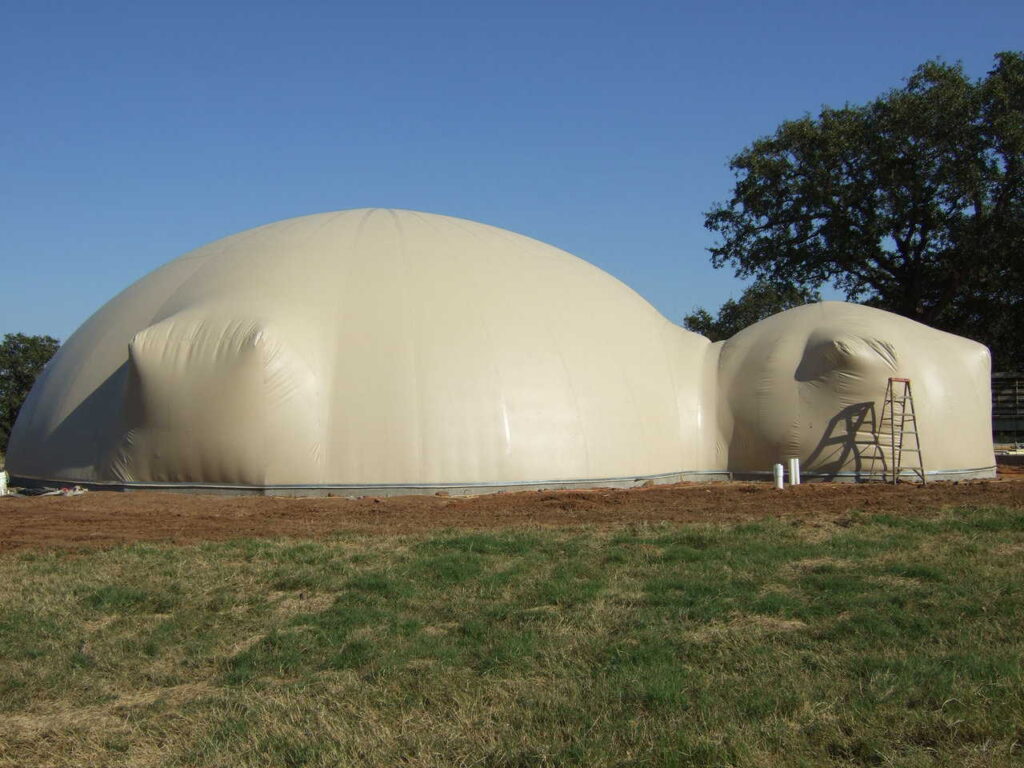
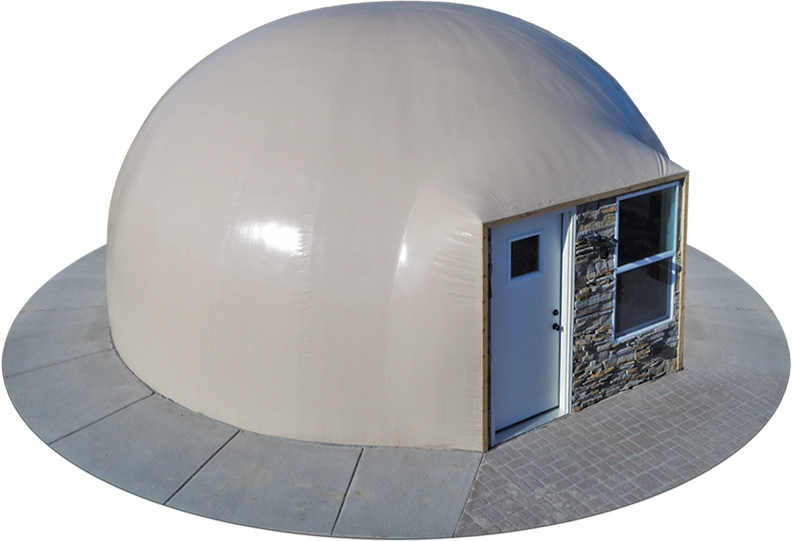
The airform is a giant balloon-like inflatable structure that eventually gives the dome its shape and external appearance. Available in various colors, airforms are PVC-coated nylon or polyester fabric, custom-made to a dome’s floor plan. They can accommodate any number of windows and doors, and airforms can even connect multiple dome structures.
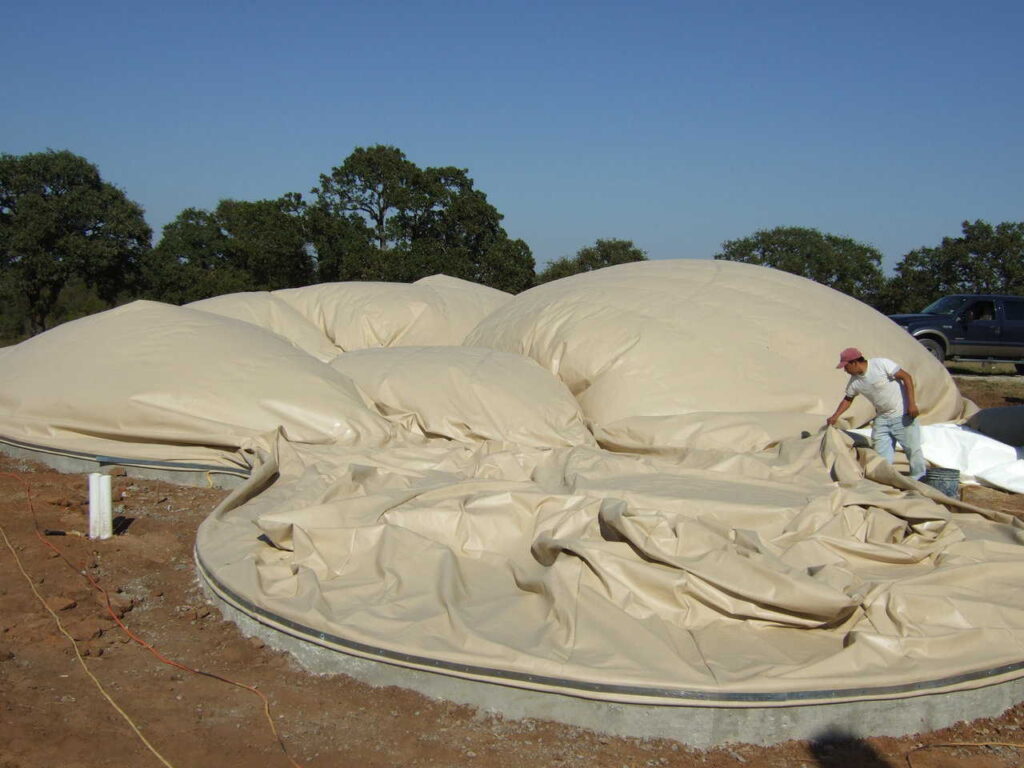
Airform inflation is a critical phase of concrete dome construction and is controlled using an airlock. Any supplies or tools that we can’t take through the airlock, we place on the foundation before setting the airform into place. Once the airlock is in position, the airform is rolled out and unfolded to cover the round foundation. Then we carefully match it up with the seams in the foundation, centering the airform in the correct position before bolting down the clamps. We do this to avoid misplacement, which is very difficult to fix after this point in construction. The airform is then attached by adding clamps. One clamp is placed, and then another directly opposite it. The process is repeated until the entire circumference is secure and in place.
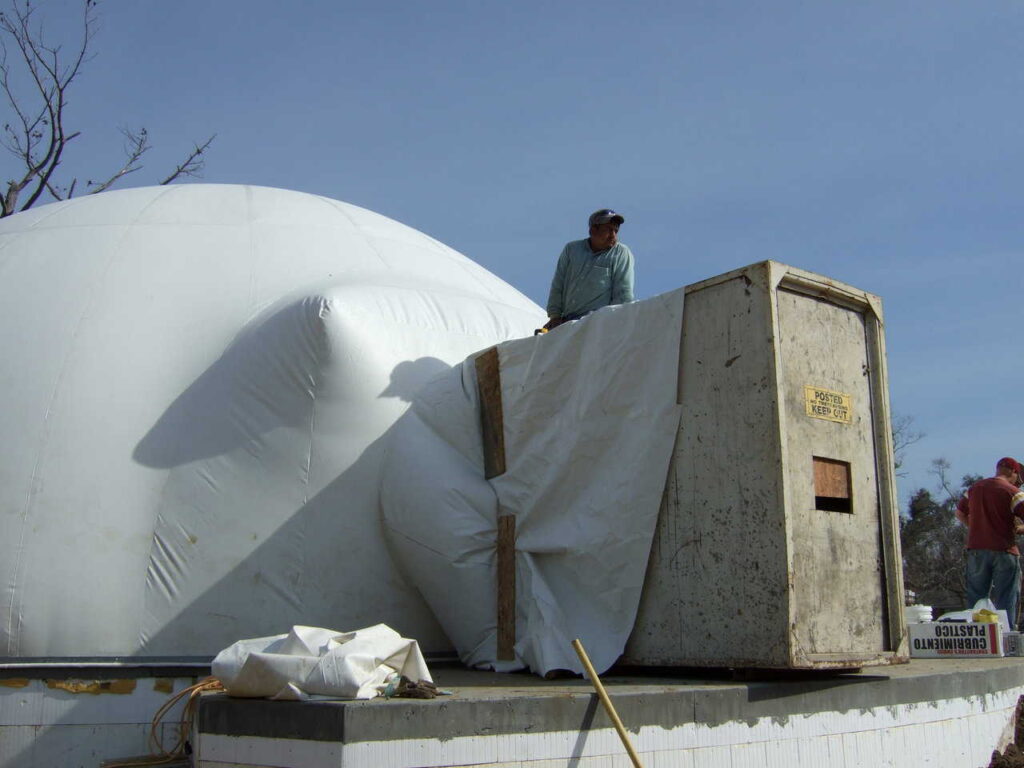
The Airform Inflation Process
Once the inflation fans are started, the air pressure must be constantly regulated and adjusted by opening and closing the airlock. When the airform becomes tight, we check for holes and weak spots and inspect the airform tie-downs. Once the airform reaches the correct pressure, it is optimal to let it stand for at least 12 hours to allow the airform to stretch and settle. For a small dome, airform inflation can take about 30 minutes to complete.
Regulating Air Pressure
As construction proceeds on the inside of the airform, which we’ll discuss in greater detail in our next article, our supervisor’s job is to continue regulating the air pressure. Each step of the building process relies on pressure consistency.
Careful monitoring of this helps subsequent construction to progress smoothly and ensures the integrity of the dome once complete.

Tour Our Demo Dome
If you’d like to learn more about concrete domes from the team that builds these amazing structures or schedule a tour of our demo dome in Sioux Falls, click here or call 605-368-5477 today!

