

If you’re just starting your research into concrete dome construction, we want to show you how these unique structures are built. Using a five-step process, we build concrete dome homes and storage facilities that offer incredible value over conventional construction. But they still keep your investment cost around the same as your typical home or silo. That’s because of the specially engineered materials and processes we use.
In this article, we are discussing the fifth and final step of how we build a dome home: applying shotcrete to the interior.
Read our complete 5-part series here:
Part 1: The Foundation
Part 2: The Airform
Part 3: Polyurethane Foam
Part 4: Steel-Reinforcing Rebar
Part 5: Shotcrete (you are here!)
Building a Dome: Recap
Before jumping into the final step, let’s do a quick recap of our dome construction process:
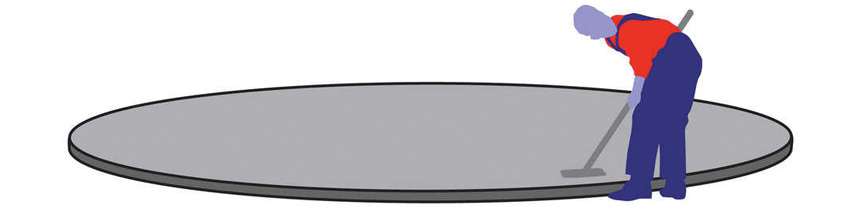
Step One: You choose a floor plan for your home. We prepare the area and pour a concrete foundation for the home.
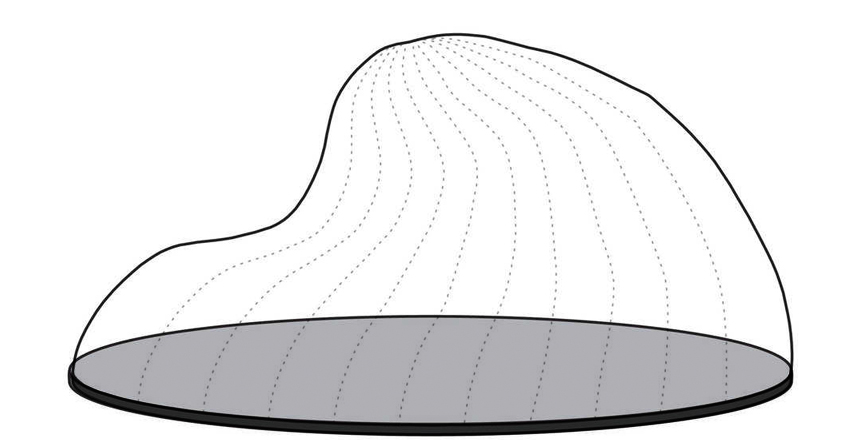
Step Two: We inflate an airform around the foundation. When inflated, it determines the size and shape of your home.
Step Three: We apply the polyurethane foam as a base for the following step.
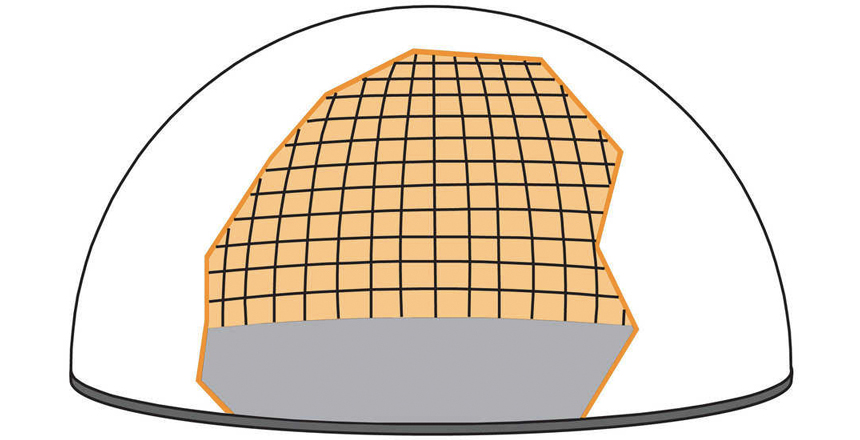
Step Four: We place the steel-reinforced rebar, which gives the home its ability to withstand outside pressure and tension.
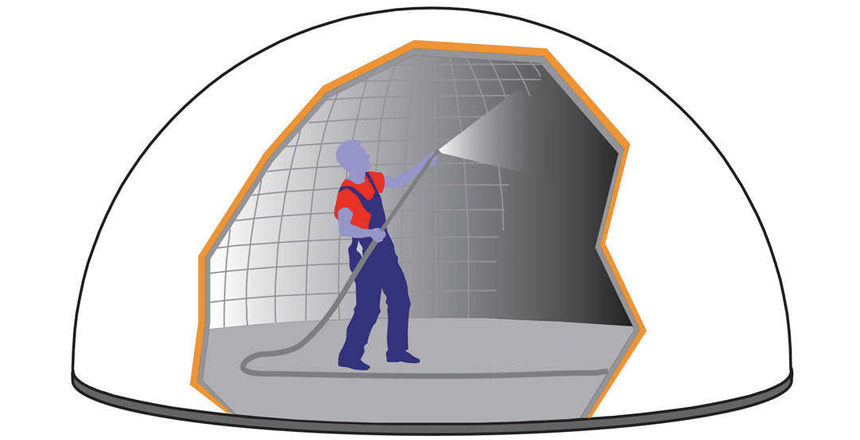
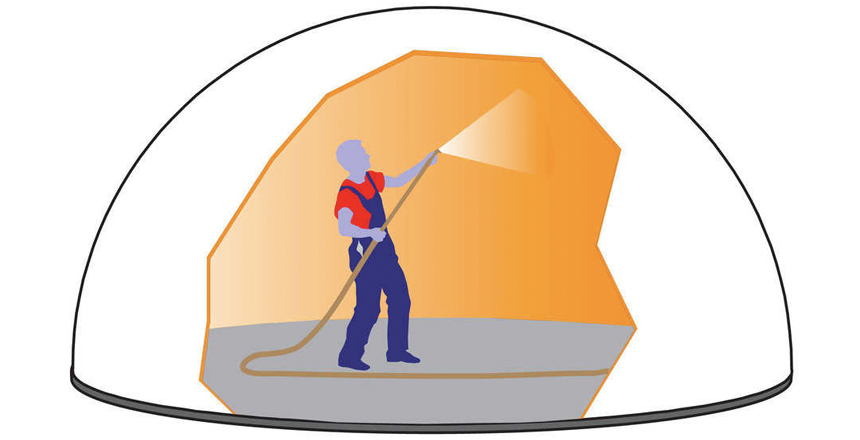
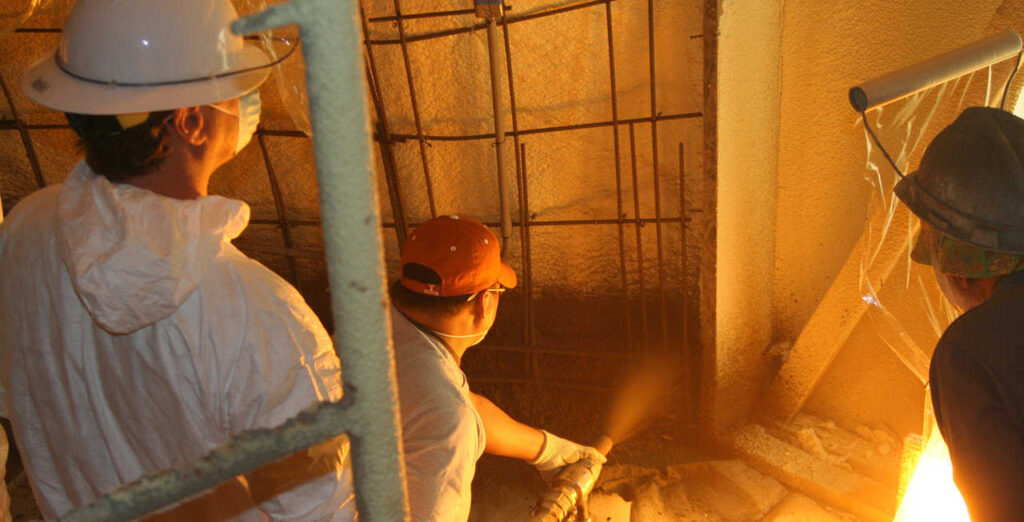
Step Five of Building A Concrete Dome: Shotcrete
Shotcrete is a sprayable concrete mixture projected at a high velocity to cover overhead or uniquely shaped surfaces. Once sprayed, it hardens into a uniform concrete finish. In addition to its flexible use, shotcrete is more economical than conventionally placed concrete.
Applying Layer One
We start at the bottom of the wall, covering the first foot in a thick layer of shotcrete around the circumference of the wall base. The next 6-feet are covered in a ½-inch to 1-inch layer. From the 6-foot mark up to the top third of the dome, a ½-inch layer is applied. Then we finish off the top third of the dome with a ¼-inch to a ½-inch thick layer. This tapered method allows the thicker base to support the thinner roof. It also prevents the overall structure from being too top-heavy.
Applying Layer Two
The second layer of shotcrete is applied a day after the first layer. A 1-inch layer is applied from the base of the dome to 8-feet up the wall. Then a ½-inch layer of shotcrete is applied from the 8-foot mark to the top of the dome.
Applying Layer Three
Applying layer three is much like layer two. A 1-inch layer of shotcrete is applied to the first 8-feet of the wall. Then, a ½ inch layer is applied from the 8-foot mark to the top of the dome.
Applying Layer Four
The fourth layer is a repeat of the third layer. When applying this final layer, we focus on the depth and smoothness of the concrete as it will be the final aesthetic layer of the interior wall.
Throughout the shotcrete application process, we closely monitor the overall thickness of the shotcrete and smooth the surface at the end of each application phase. Smoothing the surface at the end of each application prepares the area for additional layers and final finishing touches.
Finishes
Once the shotcrete has dried, there are aesthetic options to consider. The concrete walls and ceiling can be left bare, plastered, or painted to achieve your desired finish. Each finish option presents a distinctive look, allowing you to personalize your dome home in a way that isn’t possible in a conventional home.
History and Innovation
Dome homes are a unique way to showcase the individuality of you and your family. People who step inside them describe domes as “feeling alive” or “like an embrace.” There is evidence that people from around the world have long understood this intangible quality, living in domes ranging from igloos and wigwams to African mud huts and the nomadic yurt. Architect Charles Deaton once said, “If people do not have angles, then we should not live in boxes.” A dome home is undoubtedly the antithesis of living in a box.
For centuries, people constructed and lived in domes because they could be made from easily-accessible materials. Today, living in domes has many economic benefits, such as unmatched temperature control due to modern-day construction and insulation methods.
Tour Our Dome Home
To better understand how the shotcrete application translates to a finished home, or if you simply want to learn more about concrete domes, schedule a tour of our demo dome. It’s located in Sioux Falls, and you can schedule your tour by clicking here or calling 605-368-5477 today!
