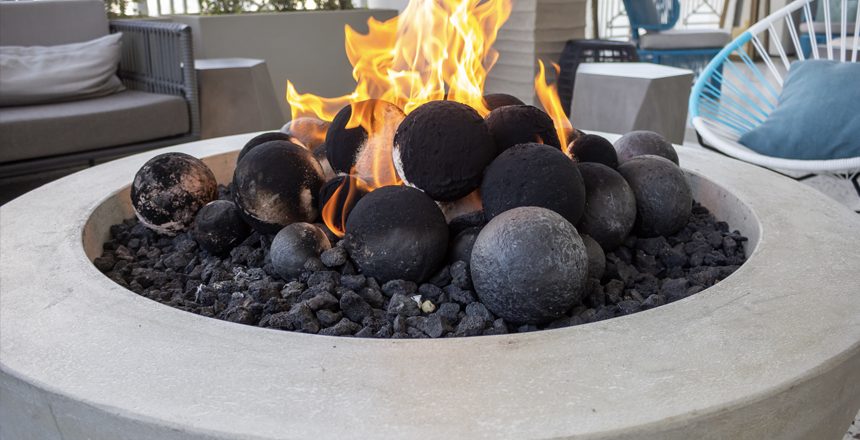
Good friends, good conversation, and a good fire pit. What better way to celebrate summer nights? If you’ve been using a portable fire pit and are ready for something more permanent, it might be time to build your own instead. There are many different ways to build one, but a concrete fire pit has some serious advantages over blocks and rocks. If you’re thinking about taking on this kind of project, we’ve got a simple outline for how to build a concrete fire pit of your very own.
Why Build a Concrete Fire Pit?
It’s common to see cinder blocks, landscaping bricks, or even natural stones used for fire pits, but concrete fire pits offer a few benefits that other materials don’t. First, the structure is more durable than other options. Landscaping bricks and stones can crack and chip due to heat, but concrete can handle higher temperatures without damaging the materials.
Concrete also offers less chance of the fire spreading beyond its solid walls than natural stone, which typically has gaps throughout. Even better, concrete offers the opportunity for sleek design features, like smooth finishes on the sides and additional tile or stone around the top edge. From traditional to modern, you can build a concrete fire pit to match almost any style you have in mind.
Steps to Build a Concrete Fire Pit
The best part of building your own concrete fire pit is that it’s not a complicated or technical process. With a little experience and the right tools, you can build a concrete fire pit over a single weekend. While it takes some muscle, it’s only a few steps between start and finish.
1 – Design Your Concrete Fire Pit
Before you build a concrete fire pit in your backyard, determine where you want it and how big you’d like it to be. The placement is essential, especially with local codes to consider. Avoid heavy tree cover and foliage for safety reasons. Also, plan out your seating so you have plenty of room for everyone to relax around your new concrete fire pit.
2 – Build Your Form
When you build with concrete, forms help you create a precise and professional look. Using 2×6 boards, create exterior and interior forms that allow a 4-5 inch gap around the entire structure. Your exterior form should be 8-10 inches wider and longer than your interior frame. Add handles to the outside of the exterior form and the inside of the interior form using foot-long board pieces so it’s easier to remove the forms after the concrete is dried.
3 – Prep Your Fire Pit Location
When you build a concrete fire pit, make sure the location has a level and even grade. You may need to dig a bit or add sand or gravel to level everything out. This foundation is crucial to building a concrete fire pit since uneven ground can result in cracking or slipping. If you add any base material, make sure it’s tamped down to keep it from shifting and settling. Once your foundation is set, place your forms so you’re ready to add structural support before pouring the concrete.
4 – Set Rebar and Mesh for Structural Integrity
With your location prepped and your forms set in place, it’s time to add rebar between the two forms. Start with vertical posts spaced about 1 foot apart, plus a post in each corner. The posts should be just short of your concrete’s total height. Then tie in horizontal stretches of rebar with steel wire across the entire length of each side, about halfway from the top of the posts. If you want even more strength and stability, tie mesh or matting to the rebar with more wire.
5 – Pour the Concrete
Mix your concrete according to the instructions, and then pour it into the space between the exterior and interior forms. Tamp down the concrete while it’s wet to get any air gaps and bubbles out. If left in, gaps can cause cracking, weak points, and even major damage due to uneven heat transfer. Fill the forms completely and smooth them out with a trowel. Hit the forms with a rubber mallet while the concrete is still wet to release the boards from the walls. It’ll take a full 24 hours for the concrete to cure, so be ready to wait patiently!
6 – Strip the Forms and Add Finishing Touches
With the concrete fully cured, you can strip the forms from your new fire pit. Now you can add any design or stylistic details you want. A thin layer of mortar can smooth out any exterior surfaces, and you can add cut stone to the top of the fire pit to give it a more finished look.
If you want to use a metal fire bowl, fill the inside of the fire pit with gravel to your desired depth, then place the bowl on the gravel. Finish out with decorative stones. As an alternative, use fire bricks on the side walls and lava rocks inside to reduce heat transfer to the concrete walls.
As you can see, it’s fairly easy to build a concrete fire pit of your own. This simple weekend project will create years of memories since concrete fire pits weather better than most other options, and they’ll stay looking good season after season. So what are you waiting for? Get started today so you can relax for the rest of your summer nights!


